Website Builders & No-Code CMS
Installing Scoby Analytics on Webflow
Like all Scoby integrations, this lightweight, client-side integration is carefully designed to prioritize visitor privacy. It fully complies with EU ePrivacy and GDPR regulations, while enabling you to exercise your legitimate interest in understanding how your website is being used.
Prerequisites
Before you begin, make sure you have:
- A Scoby Analytics Workspace
- Your Workspace ID
- Administrator access to your Webflow project
Installation Guide
Follow the steps below to anonymously count page views and (optionally) conversions such as purchases, sign ups or form submissions.
Logging Page Views
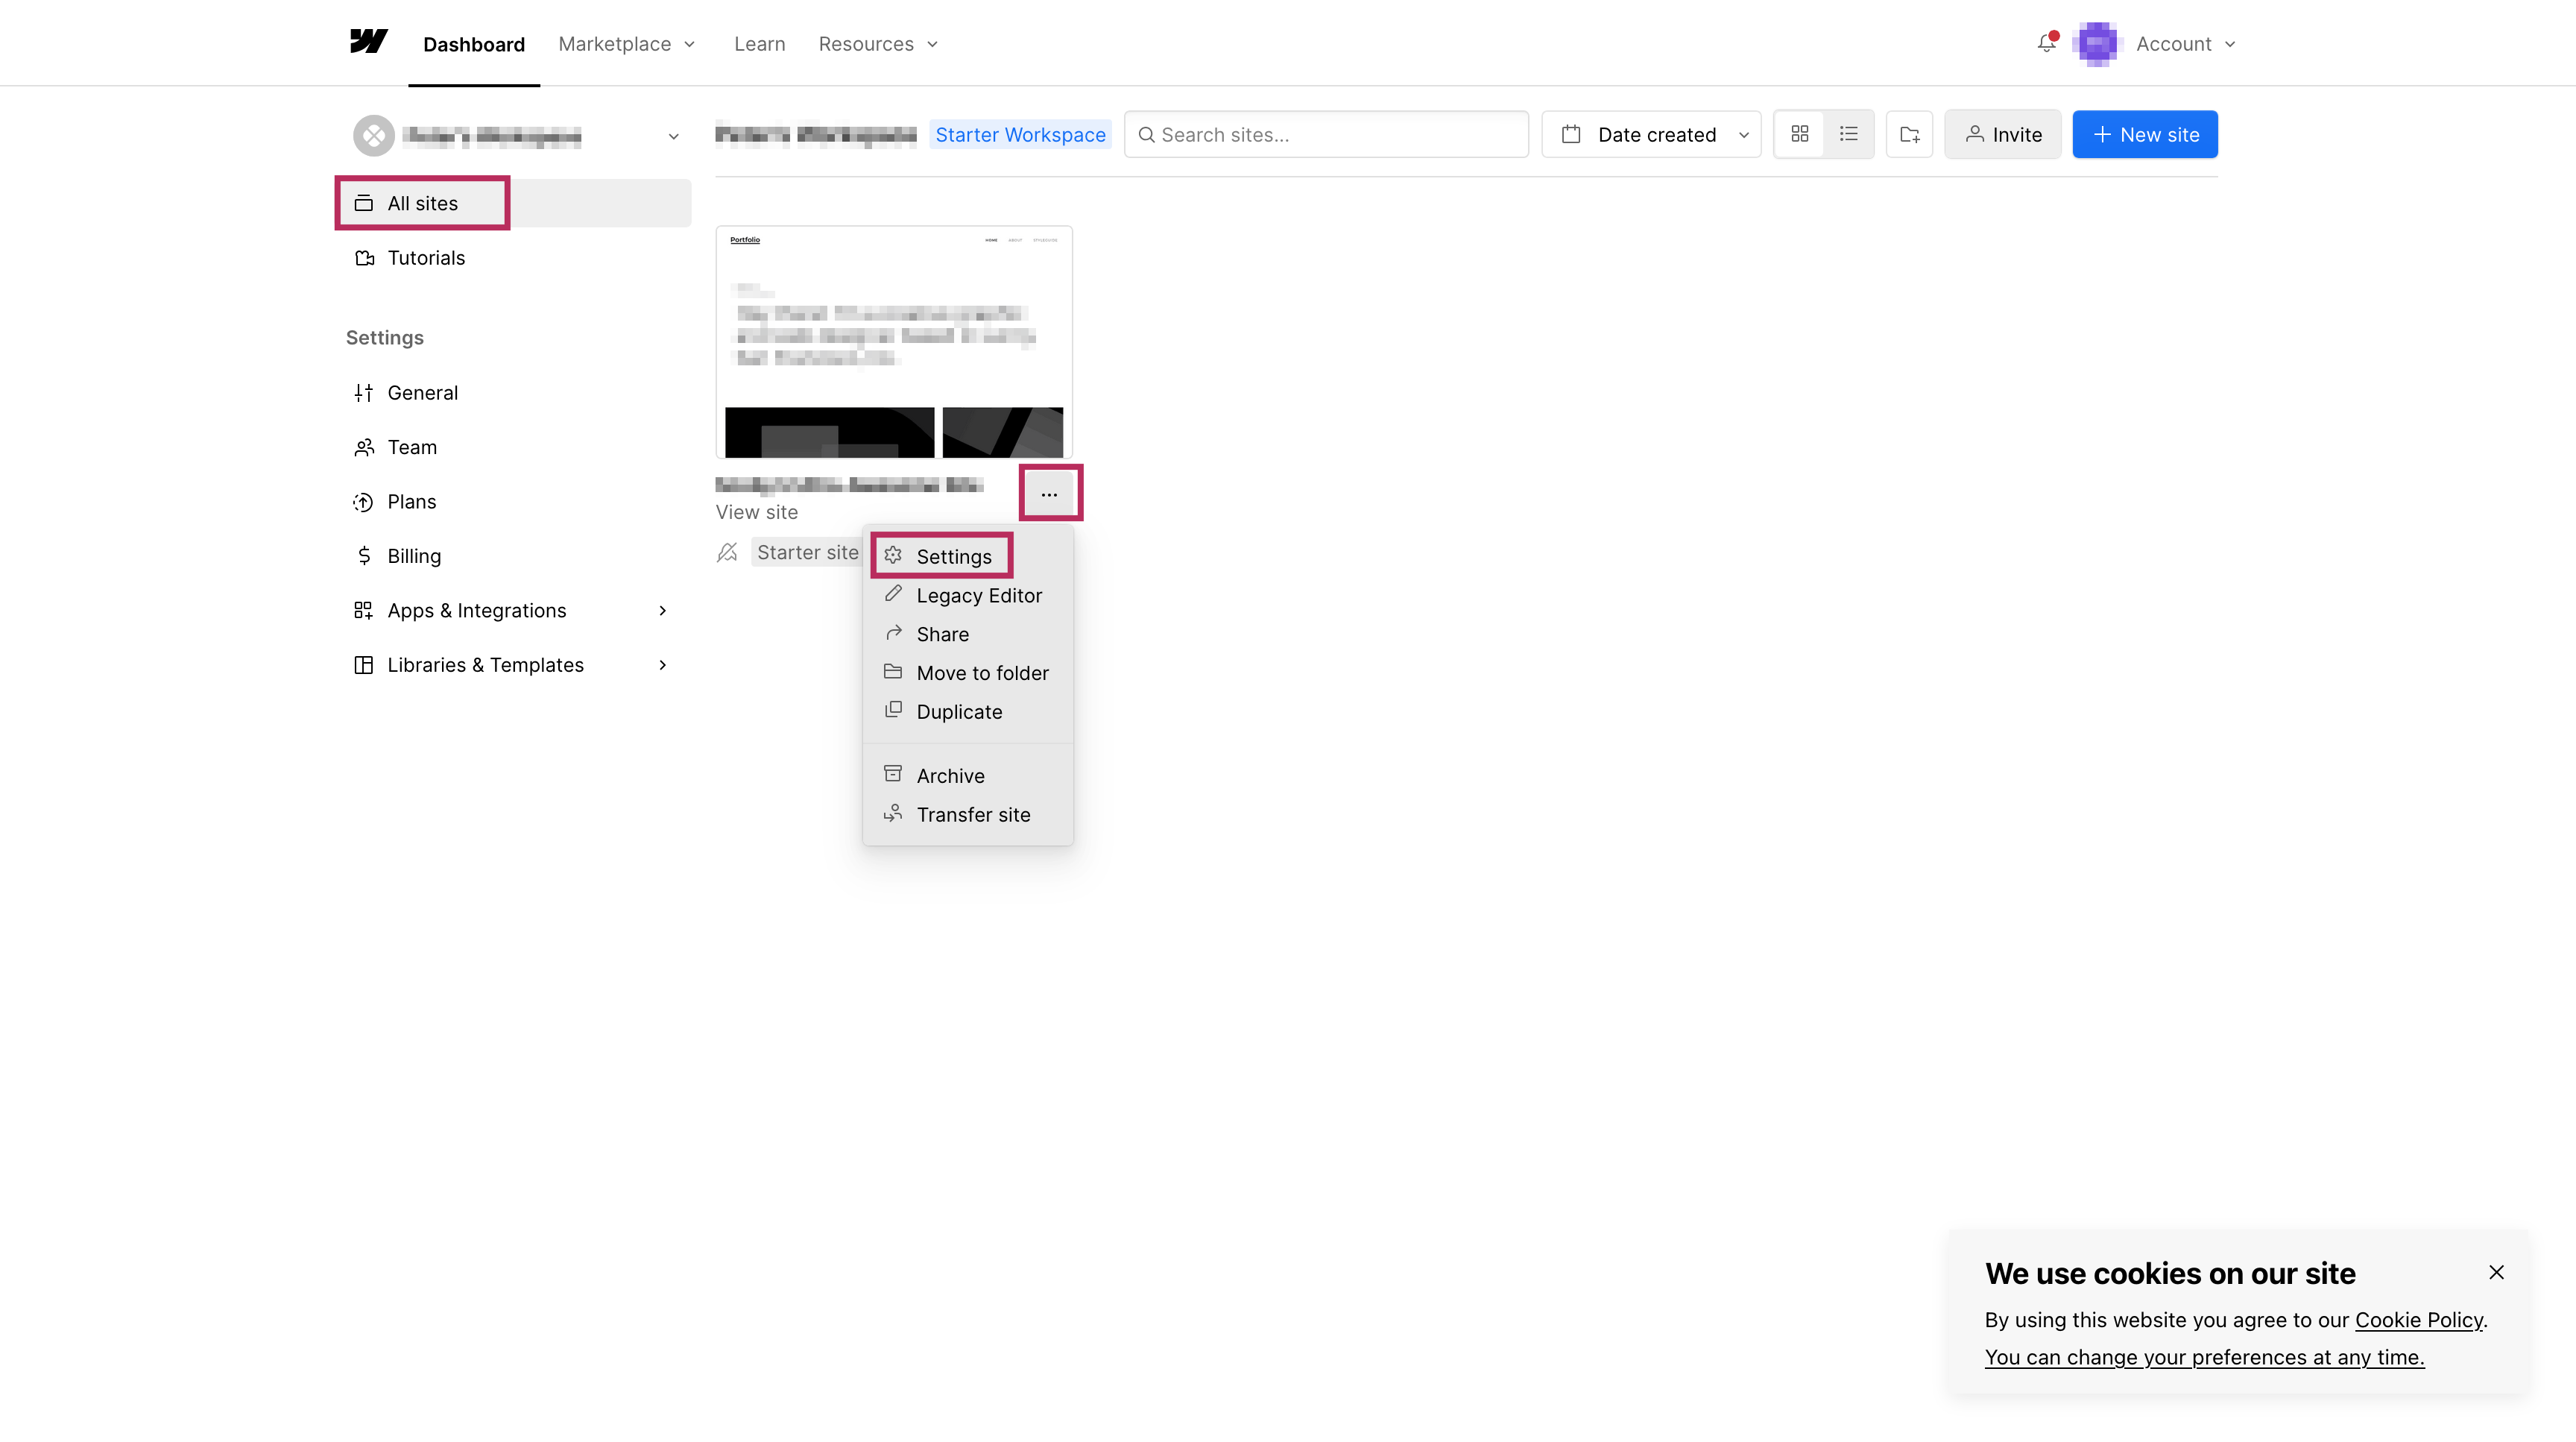
- Log in to your Webflow Dashboard.
- Hover over the project you want to integrate and click Settings ⚙️.
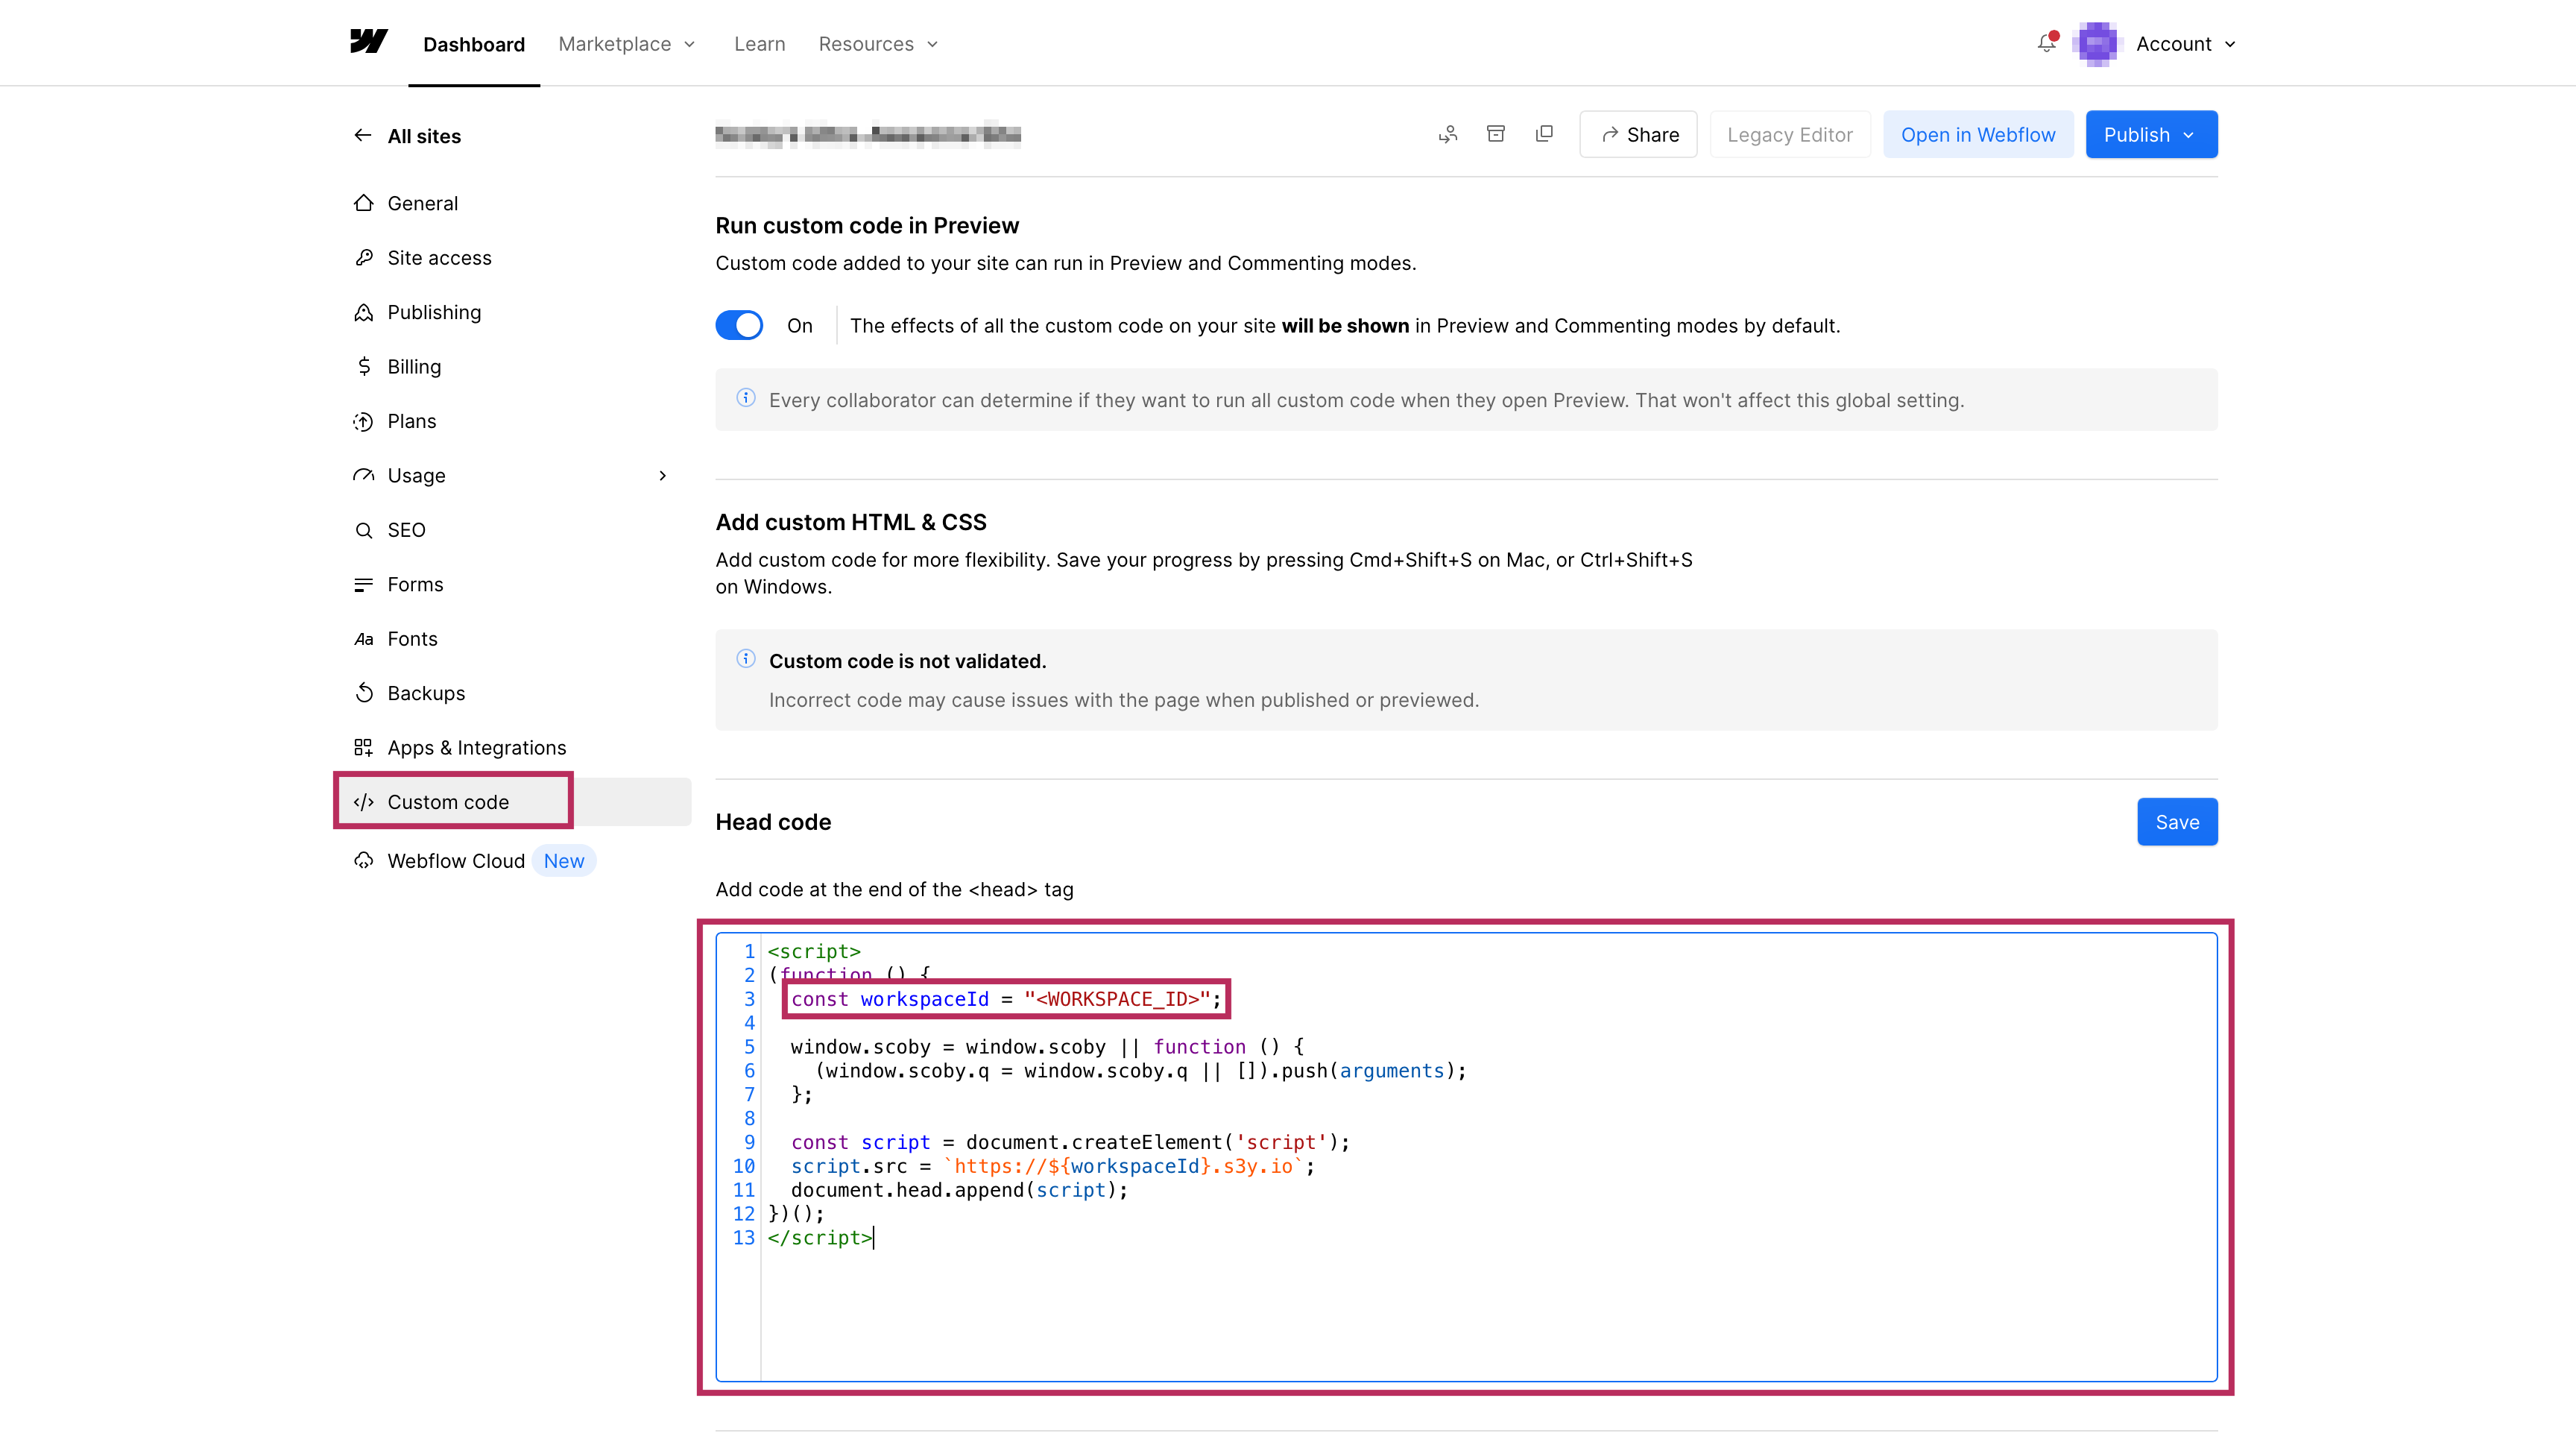
- Open the Custom Code tab.
- In the Head Code section, paste the following script.
Replace<WORKSPACE_ID>with your actual Scoby Workspace ID.
<script>
(function () {
  const workspaceId = "<WORKSPACE_ID>";

  window.scoby = window.scoby || function () {
    (window.scoby.q = window.scoby.q || []).push(arguments);
  };

  const script = document.createElement('script');
  script.src = `https://${workspaceId}.s3y.io`;

  document.head.append(script);
})();
</script>
- Scroll down and click Save Changes.
- Then click Publish → Publish to Selected Domains to deploy the snippet.
From this point on, all published pages will automatically send anonymous pageview data to Scoby Analytics.
Logging Conversions
If you’d like to log form submissions, purchases, or other conversions in Webflow, you can use the Custom Code Embed element or Webflow’s built-in form success pages.
Example: Log Form Submissions
- Open your Webflow Designer.
- Select the Form element you want to analyze.
- Click the Form Block → Form Settings.
- In the Form Success Message, add an Embed element and paste:
<script>
   window.scoby('logConversion', {
      goal: 'Sign-Up'
   });
</script>
💡 You can adjust the
goalparameter (e.g."Purchase","Download","Contact Form").
Example: Log Purchases
For Webflow Ecommerce sites, you can add the following snippet to the Order Confirmation Page via the Ecommerce settings:
<script>
   window.scoby('logConversion', {
      goal: 'Purchase',
      amount: '{{ total_price }}'
   });
</script>
Done 🎉
Scoby Analytics will now begin collecting anonymous visit and (optionally) conversion data from your Webflow site. Shortly after installation, you can view your live statistics in the Scoby Analytics Dashboard.