Website Builders & No-Code CMS
Installing Scoby Analytics on WordPress
Scoby Analytics offers a dedicated WordPress plugin for the easiest and most reliable setup. Follow this guide to install and configure it. Like all Scoby integrations, this lightweight, client-side integration is carefully designed to prioritize visitor privacy. It fully complies with EU ePrivacy and GDPR regulations, while enabling you to exercise your legitimate interest in understanding how your website is being used.
Installation Guide
Log into WordPress Admin
Open a new browser tab and log into your WordPress Admin panel.
Add the Plugin
- Go to Plugins → Add New.
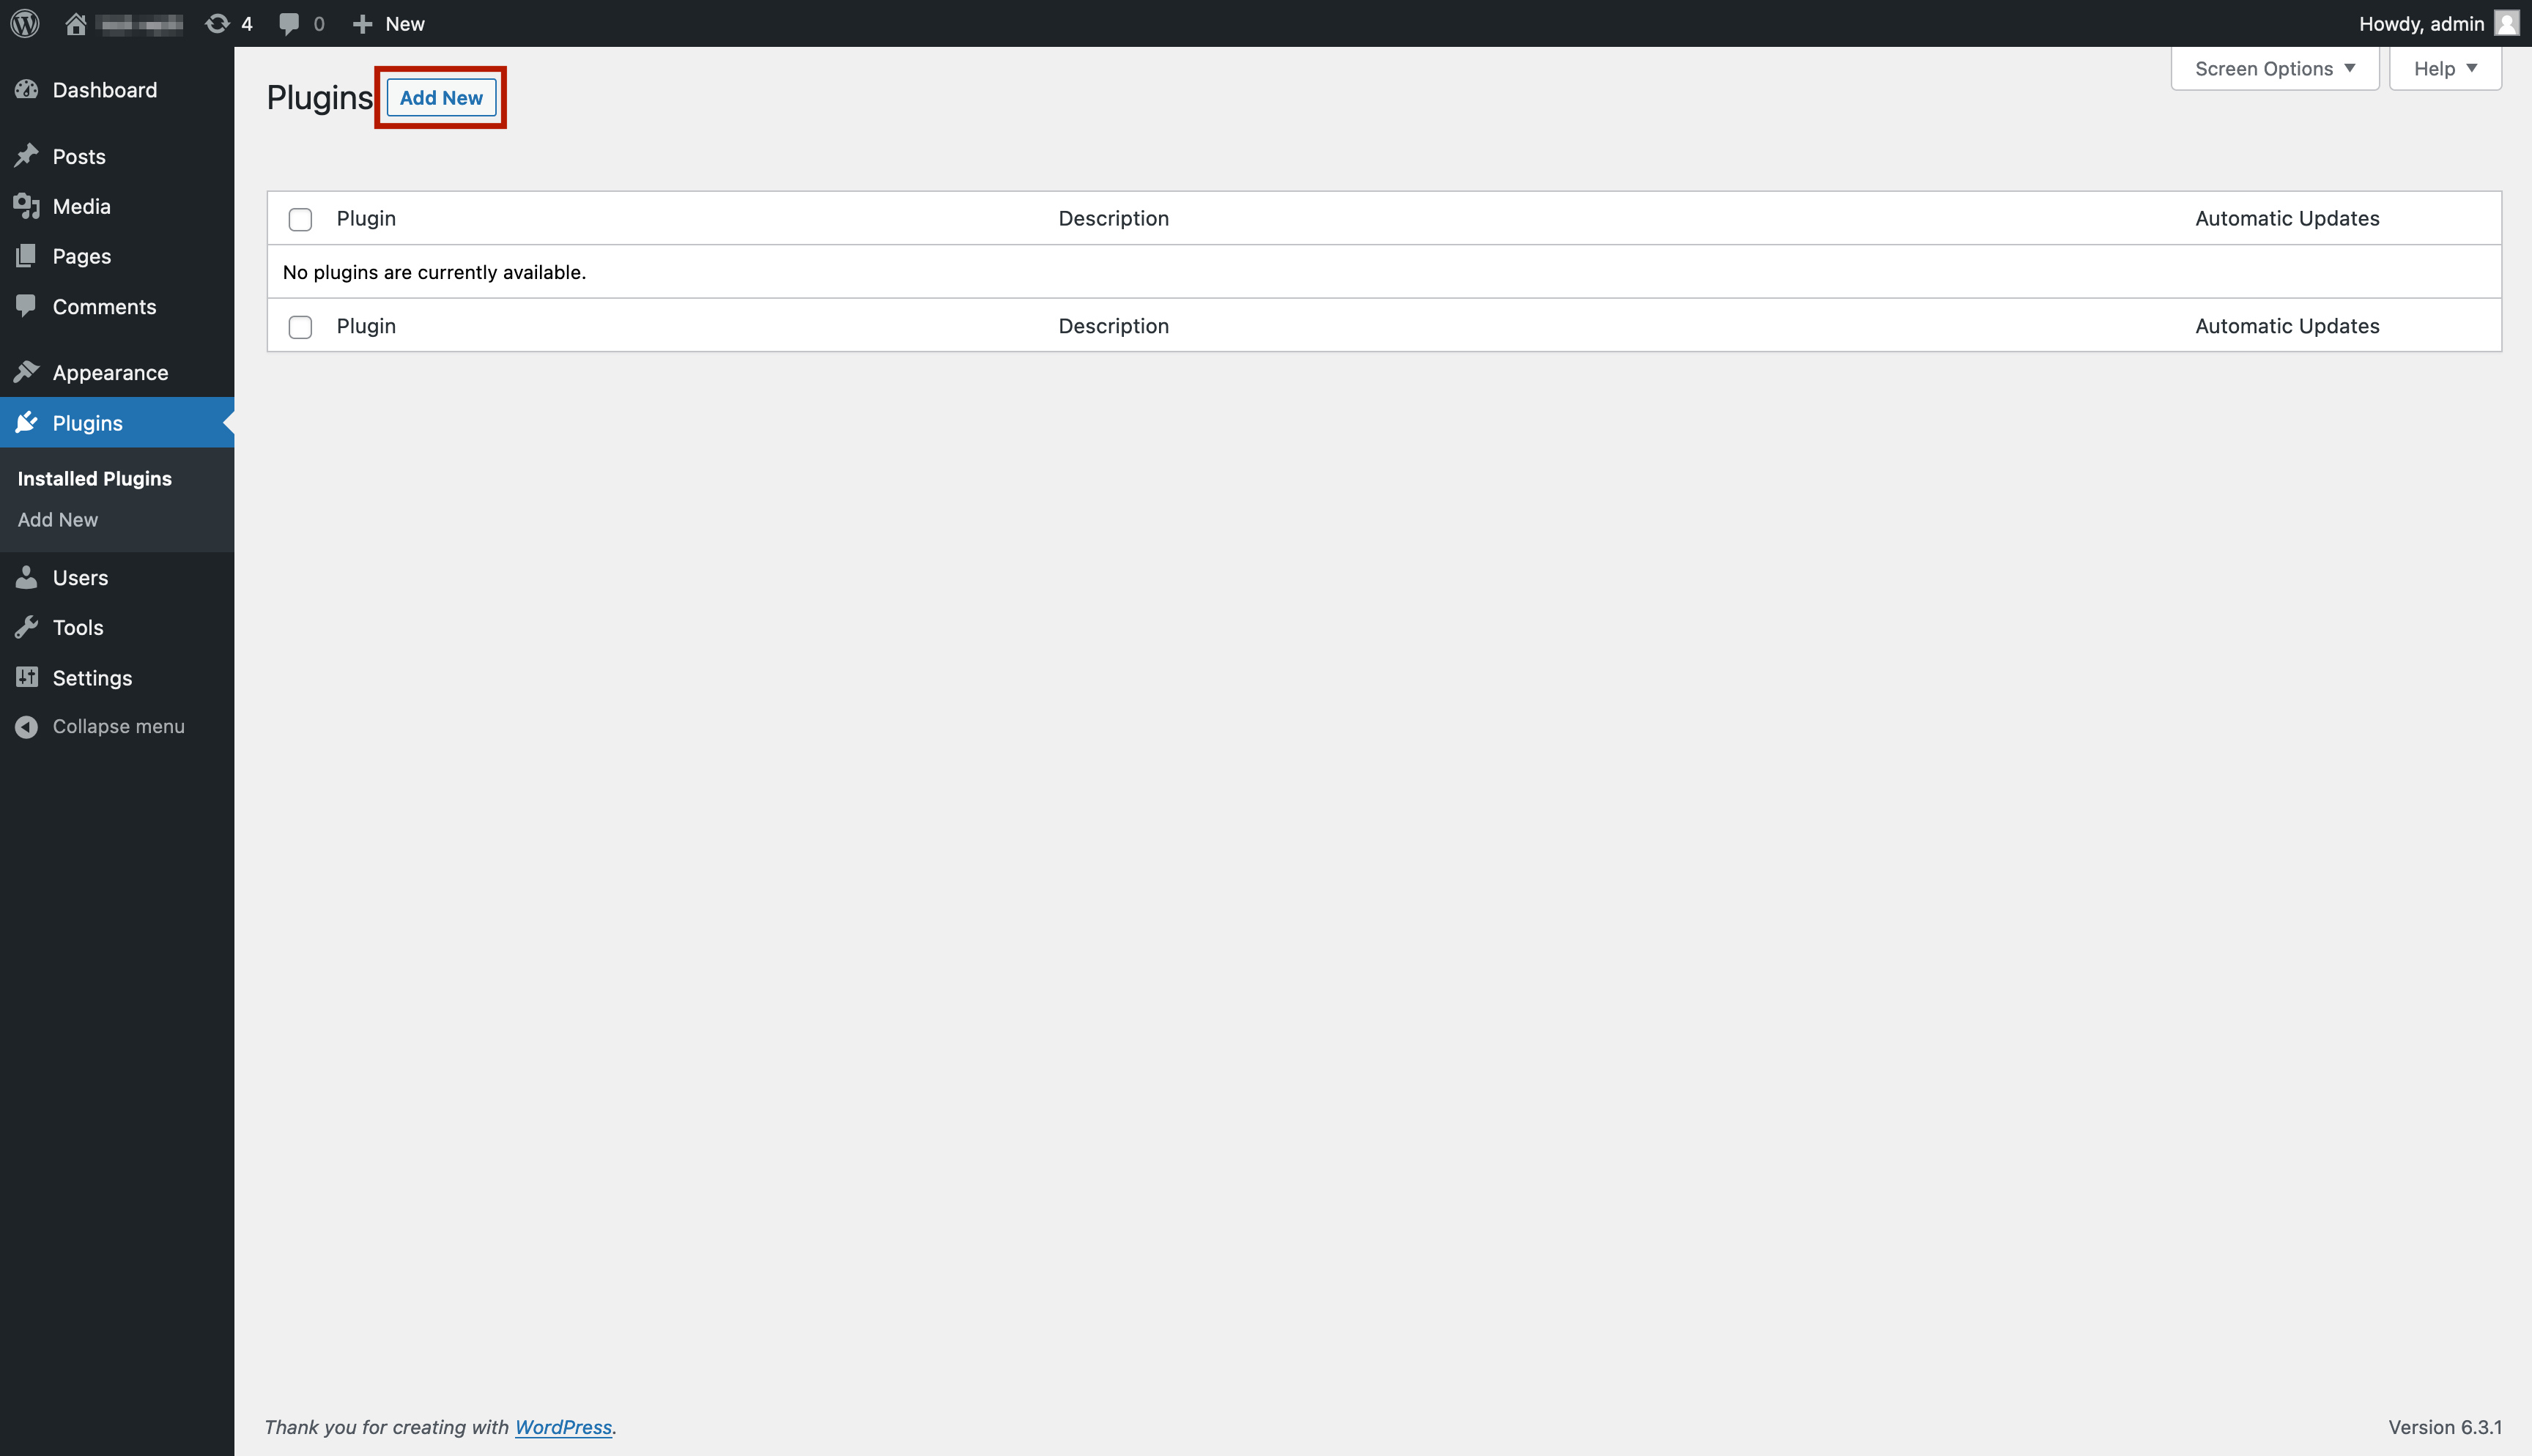
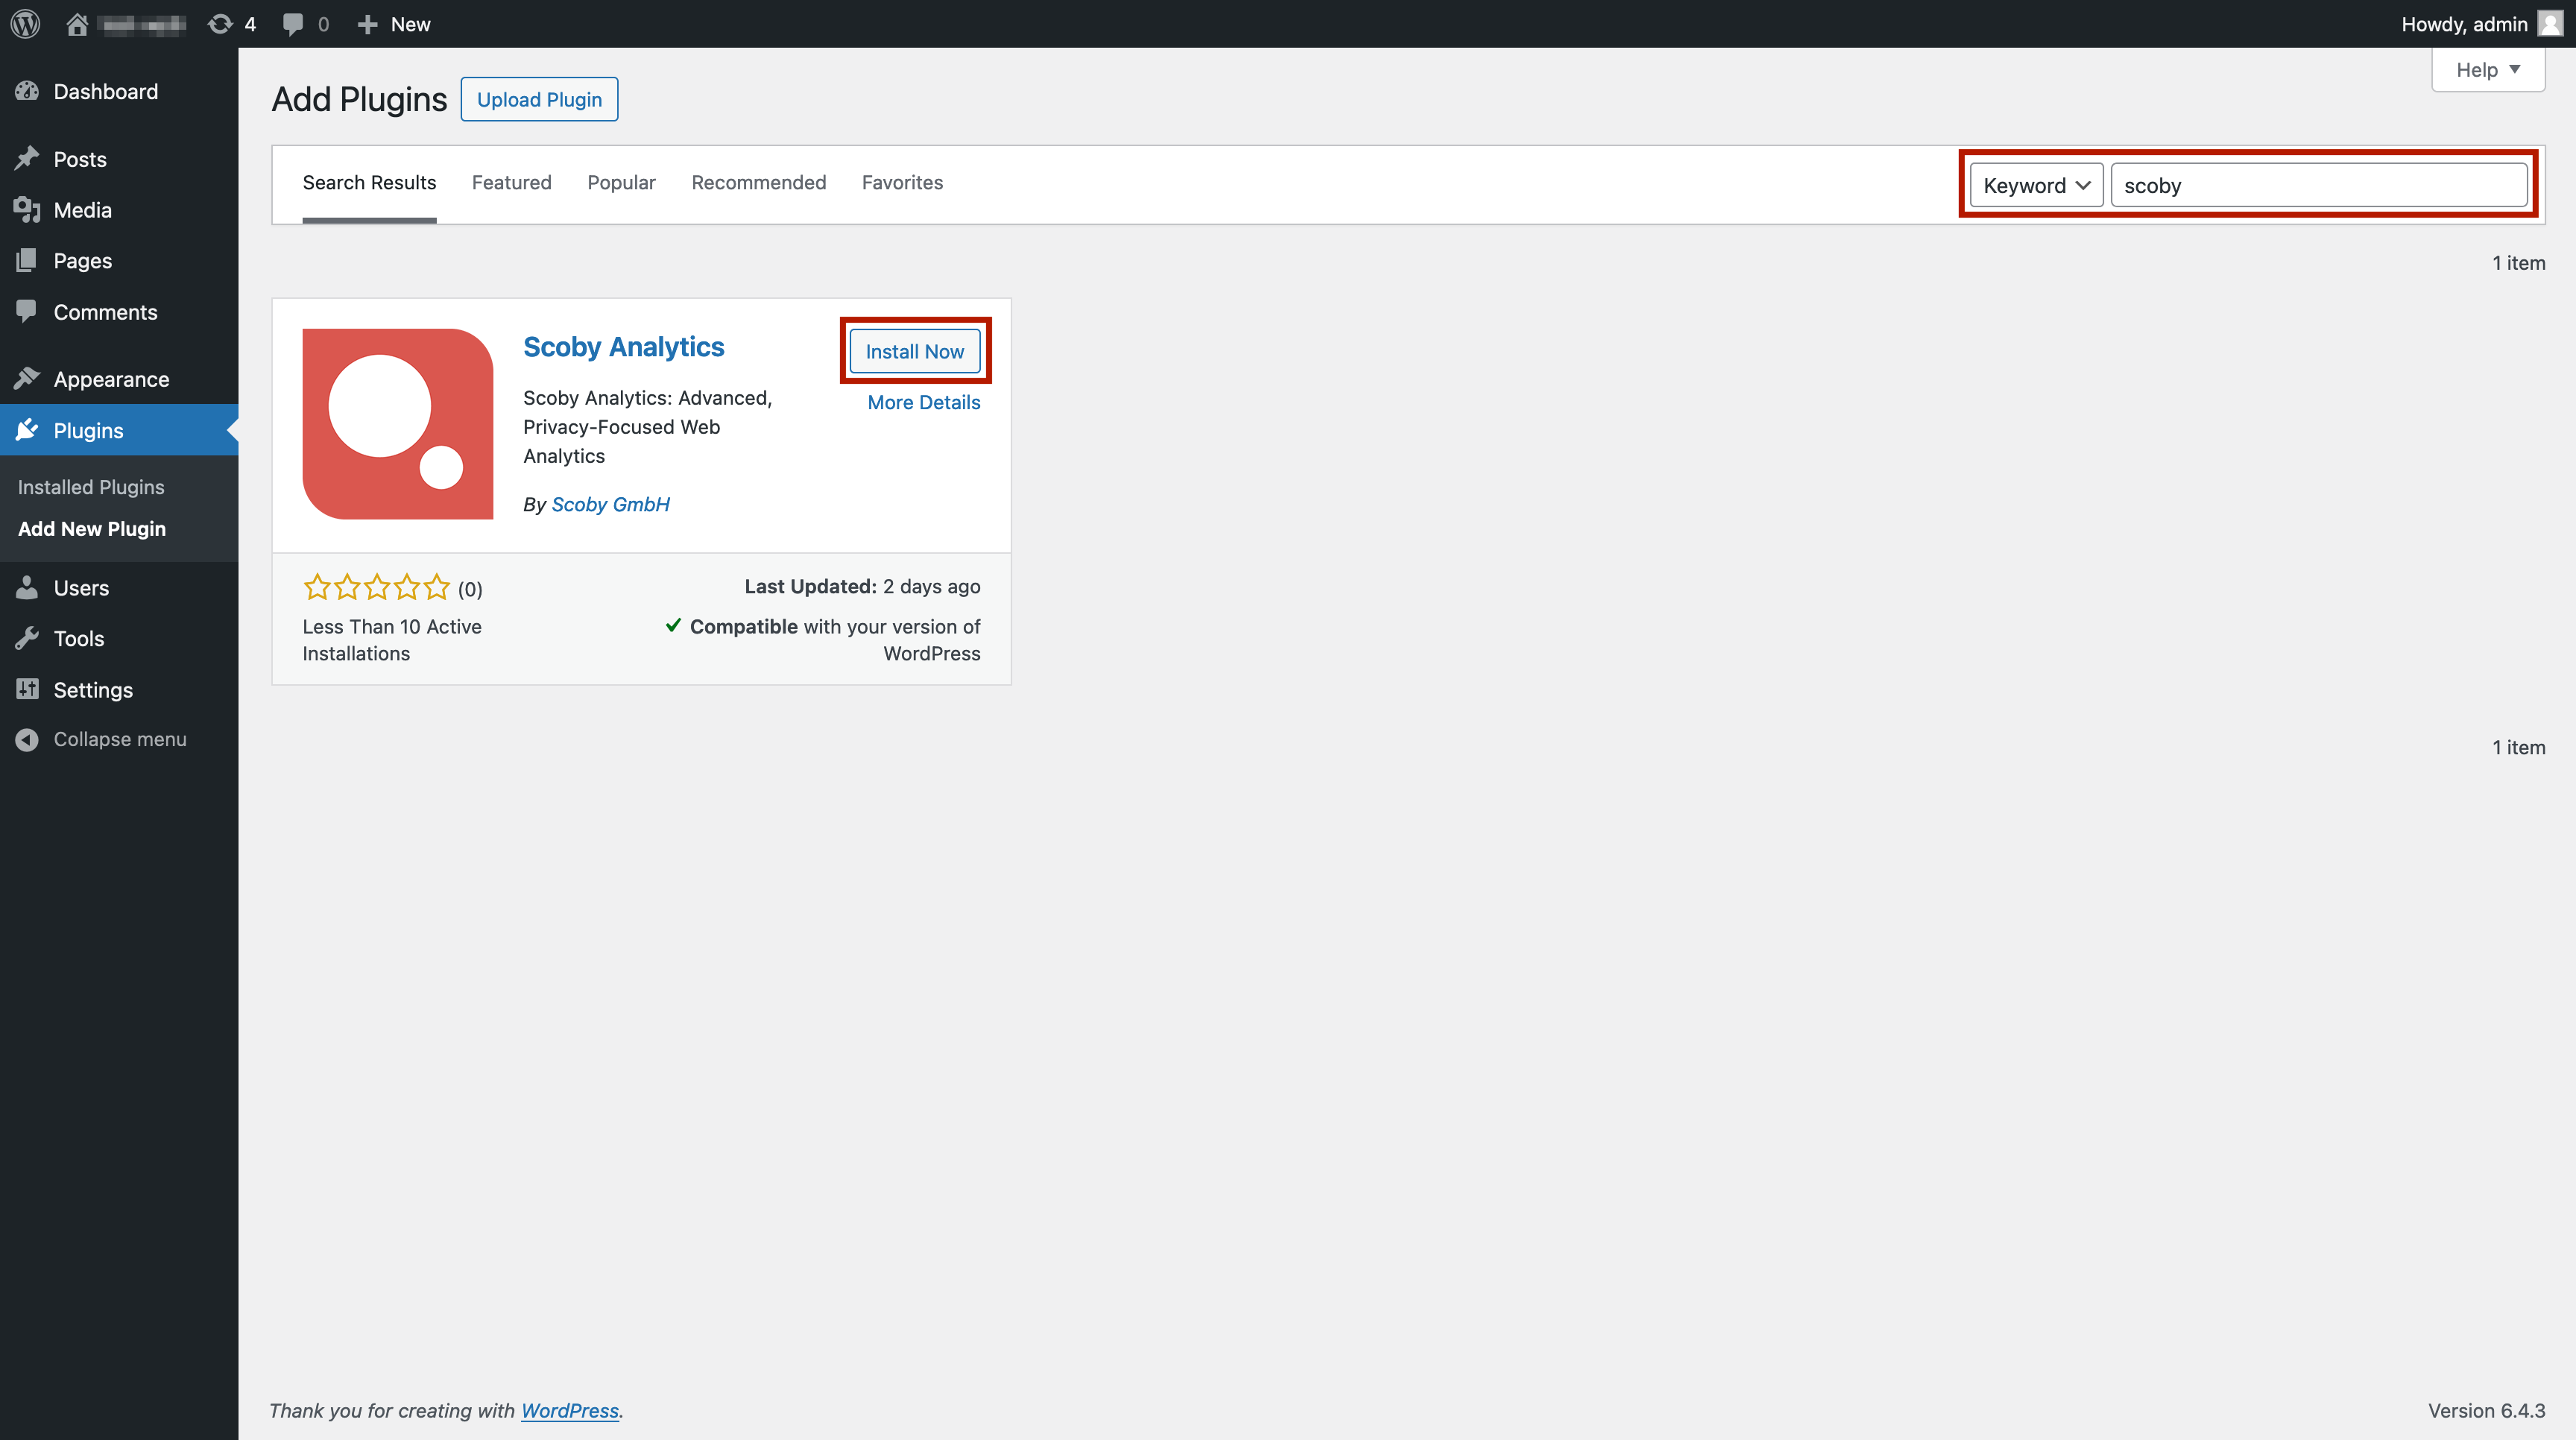
- Use the search bar in the upper-right to search for Scoby Analytics.
- Click Install Now, then Activate.
Open Plugin Settings
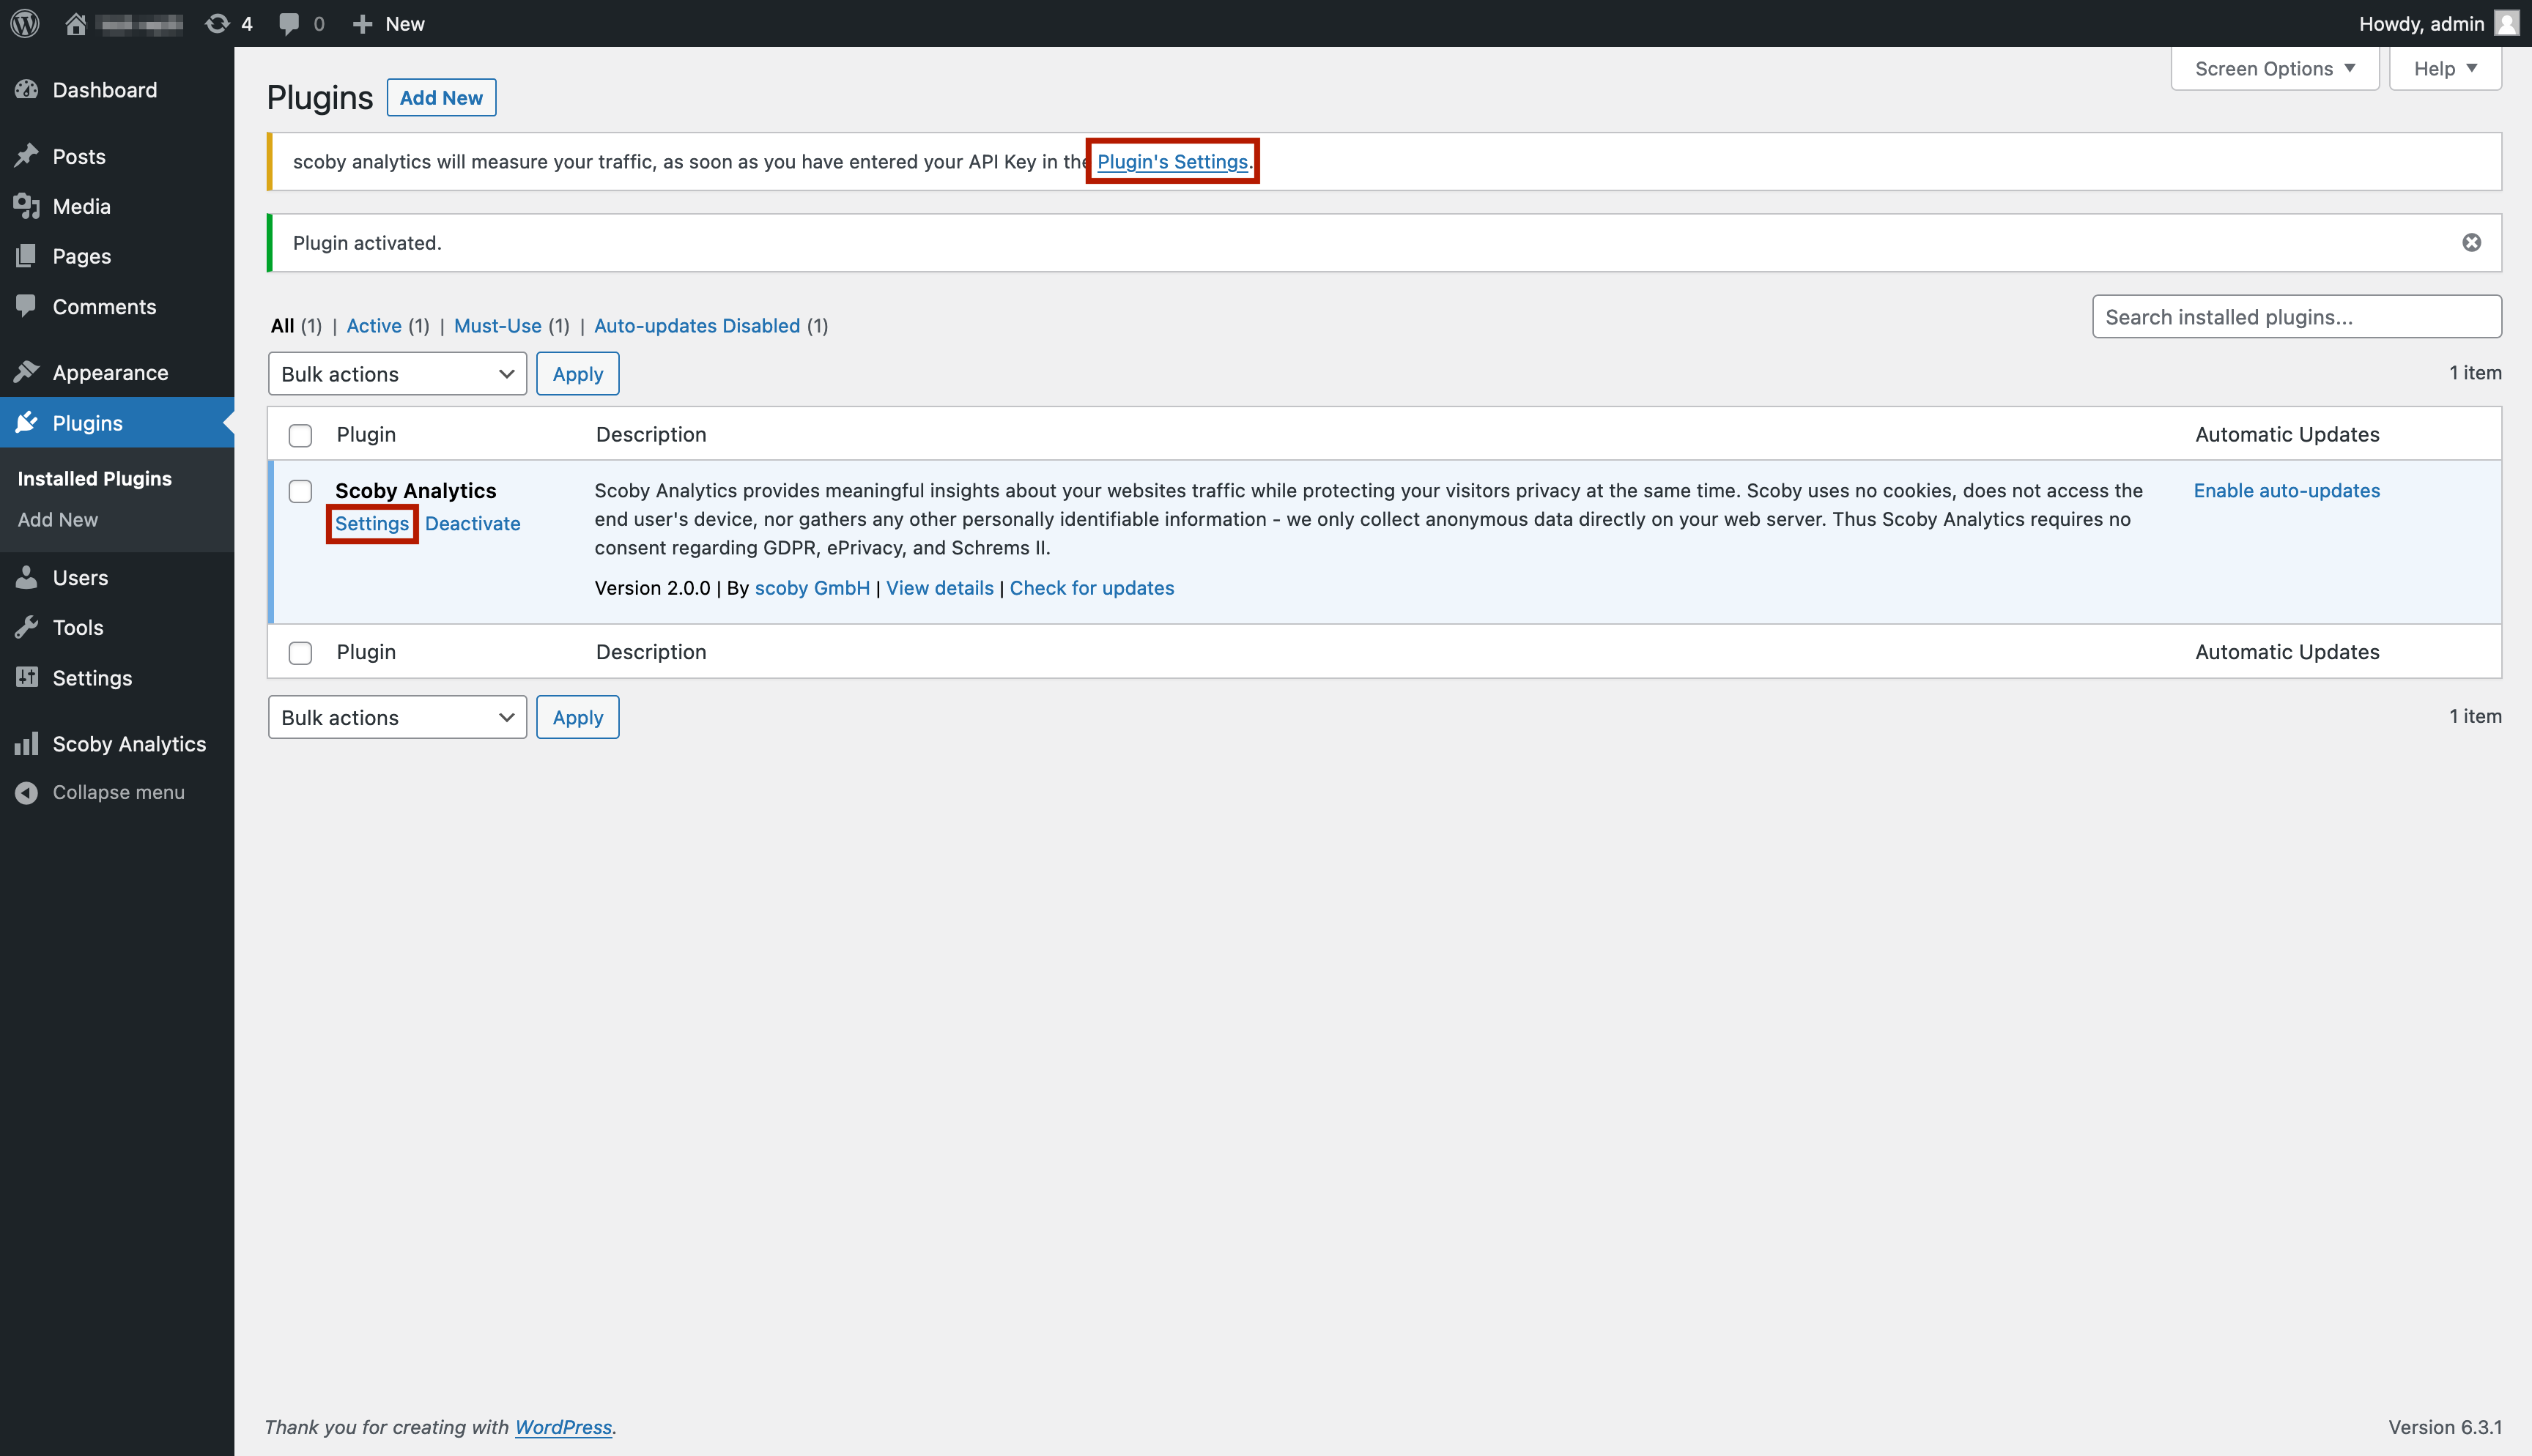
Once activated, click on one of the highlighted links to open the plugin settings.
Note:
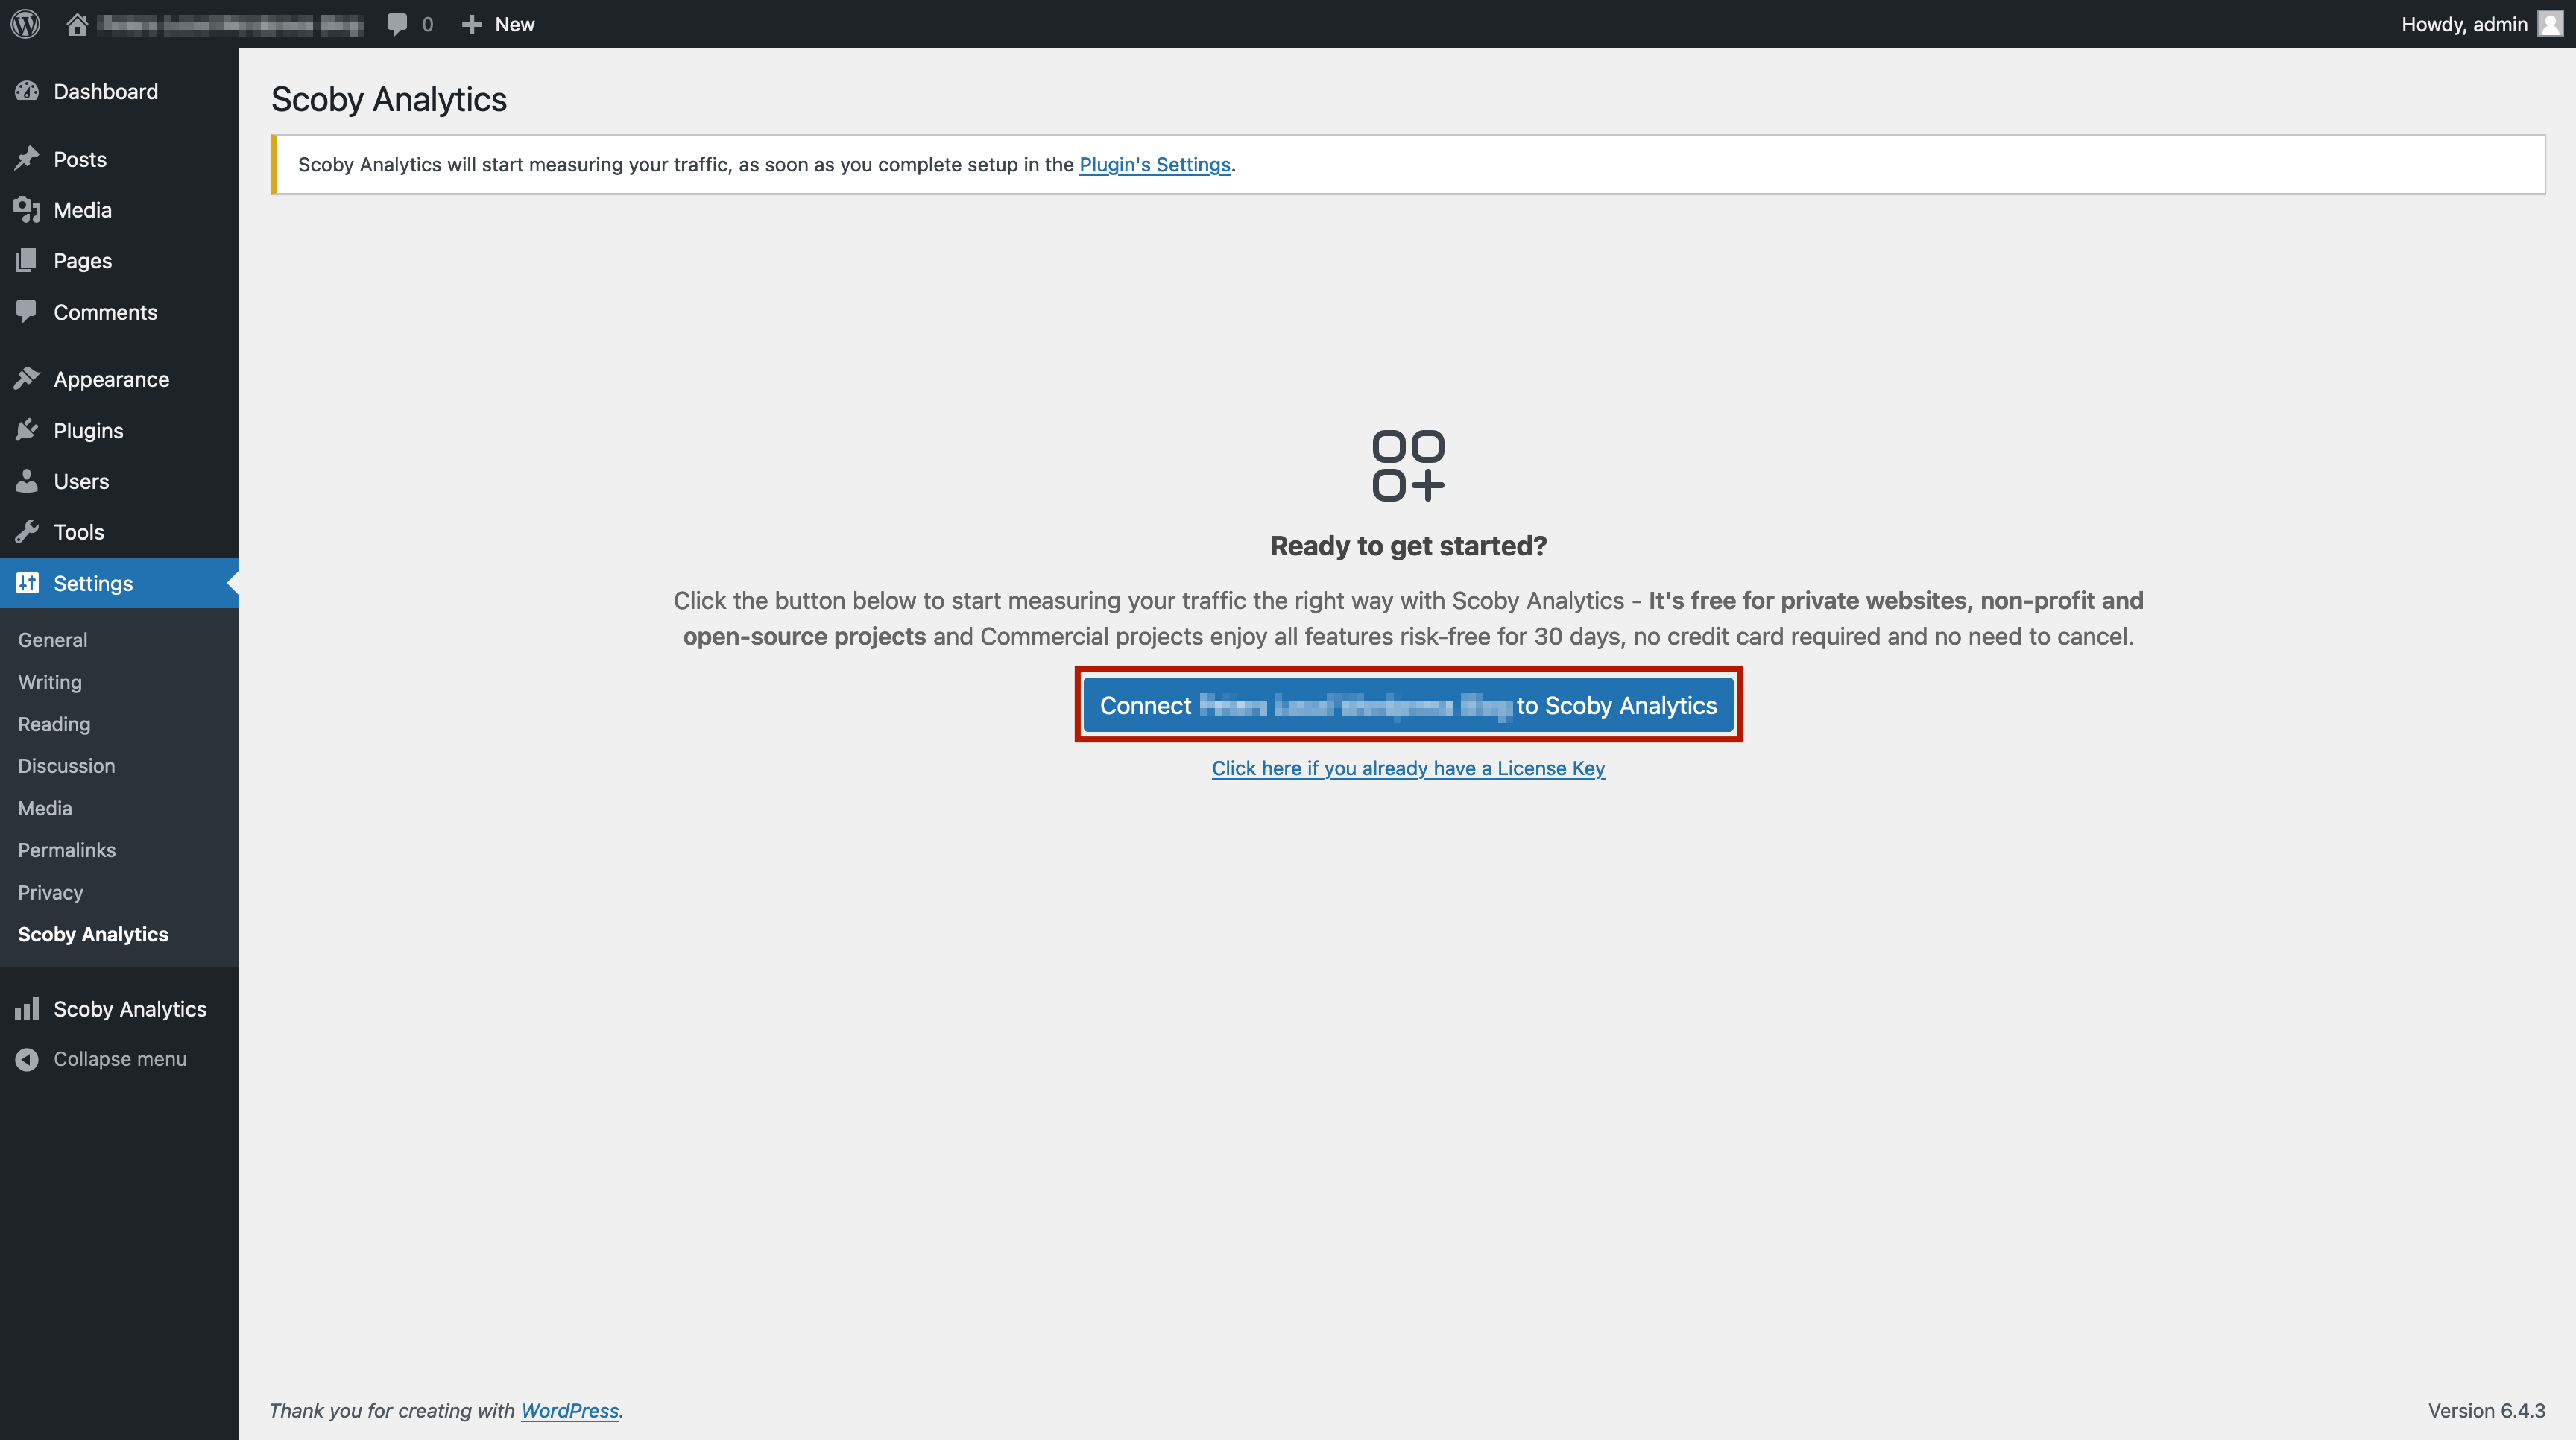
- If you’re new to Scoby Analytics, continue with the Setup Assistant.
- If you already have a License Key, you can skip ahead and add it manually.
Run the Setup Assistant
- Click Start Setup Assistant.
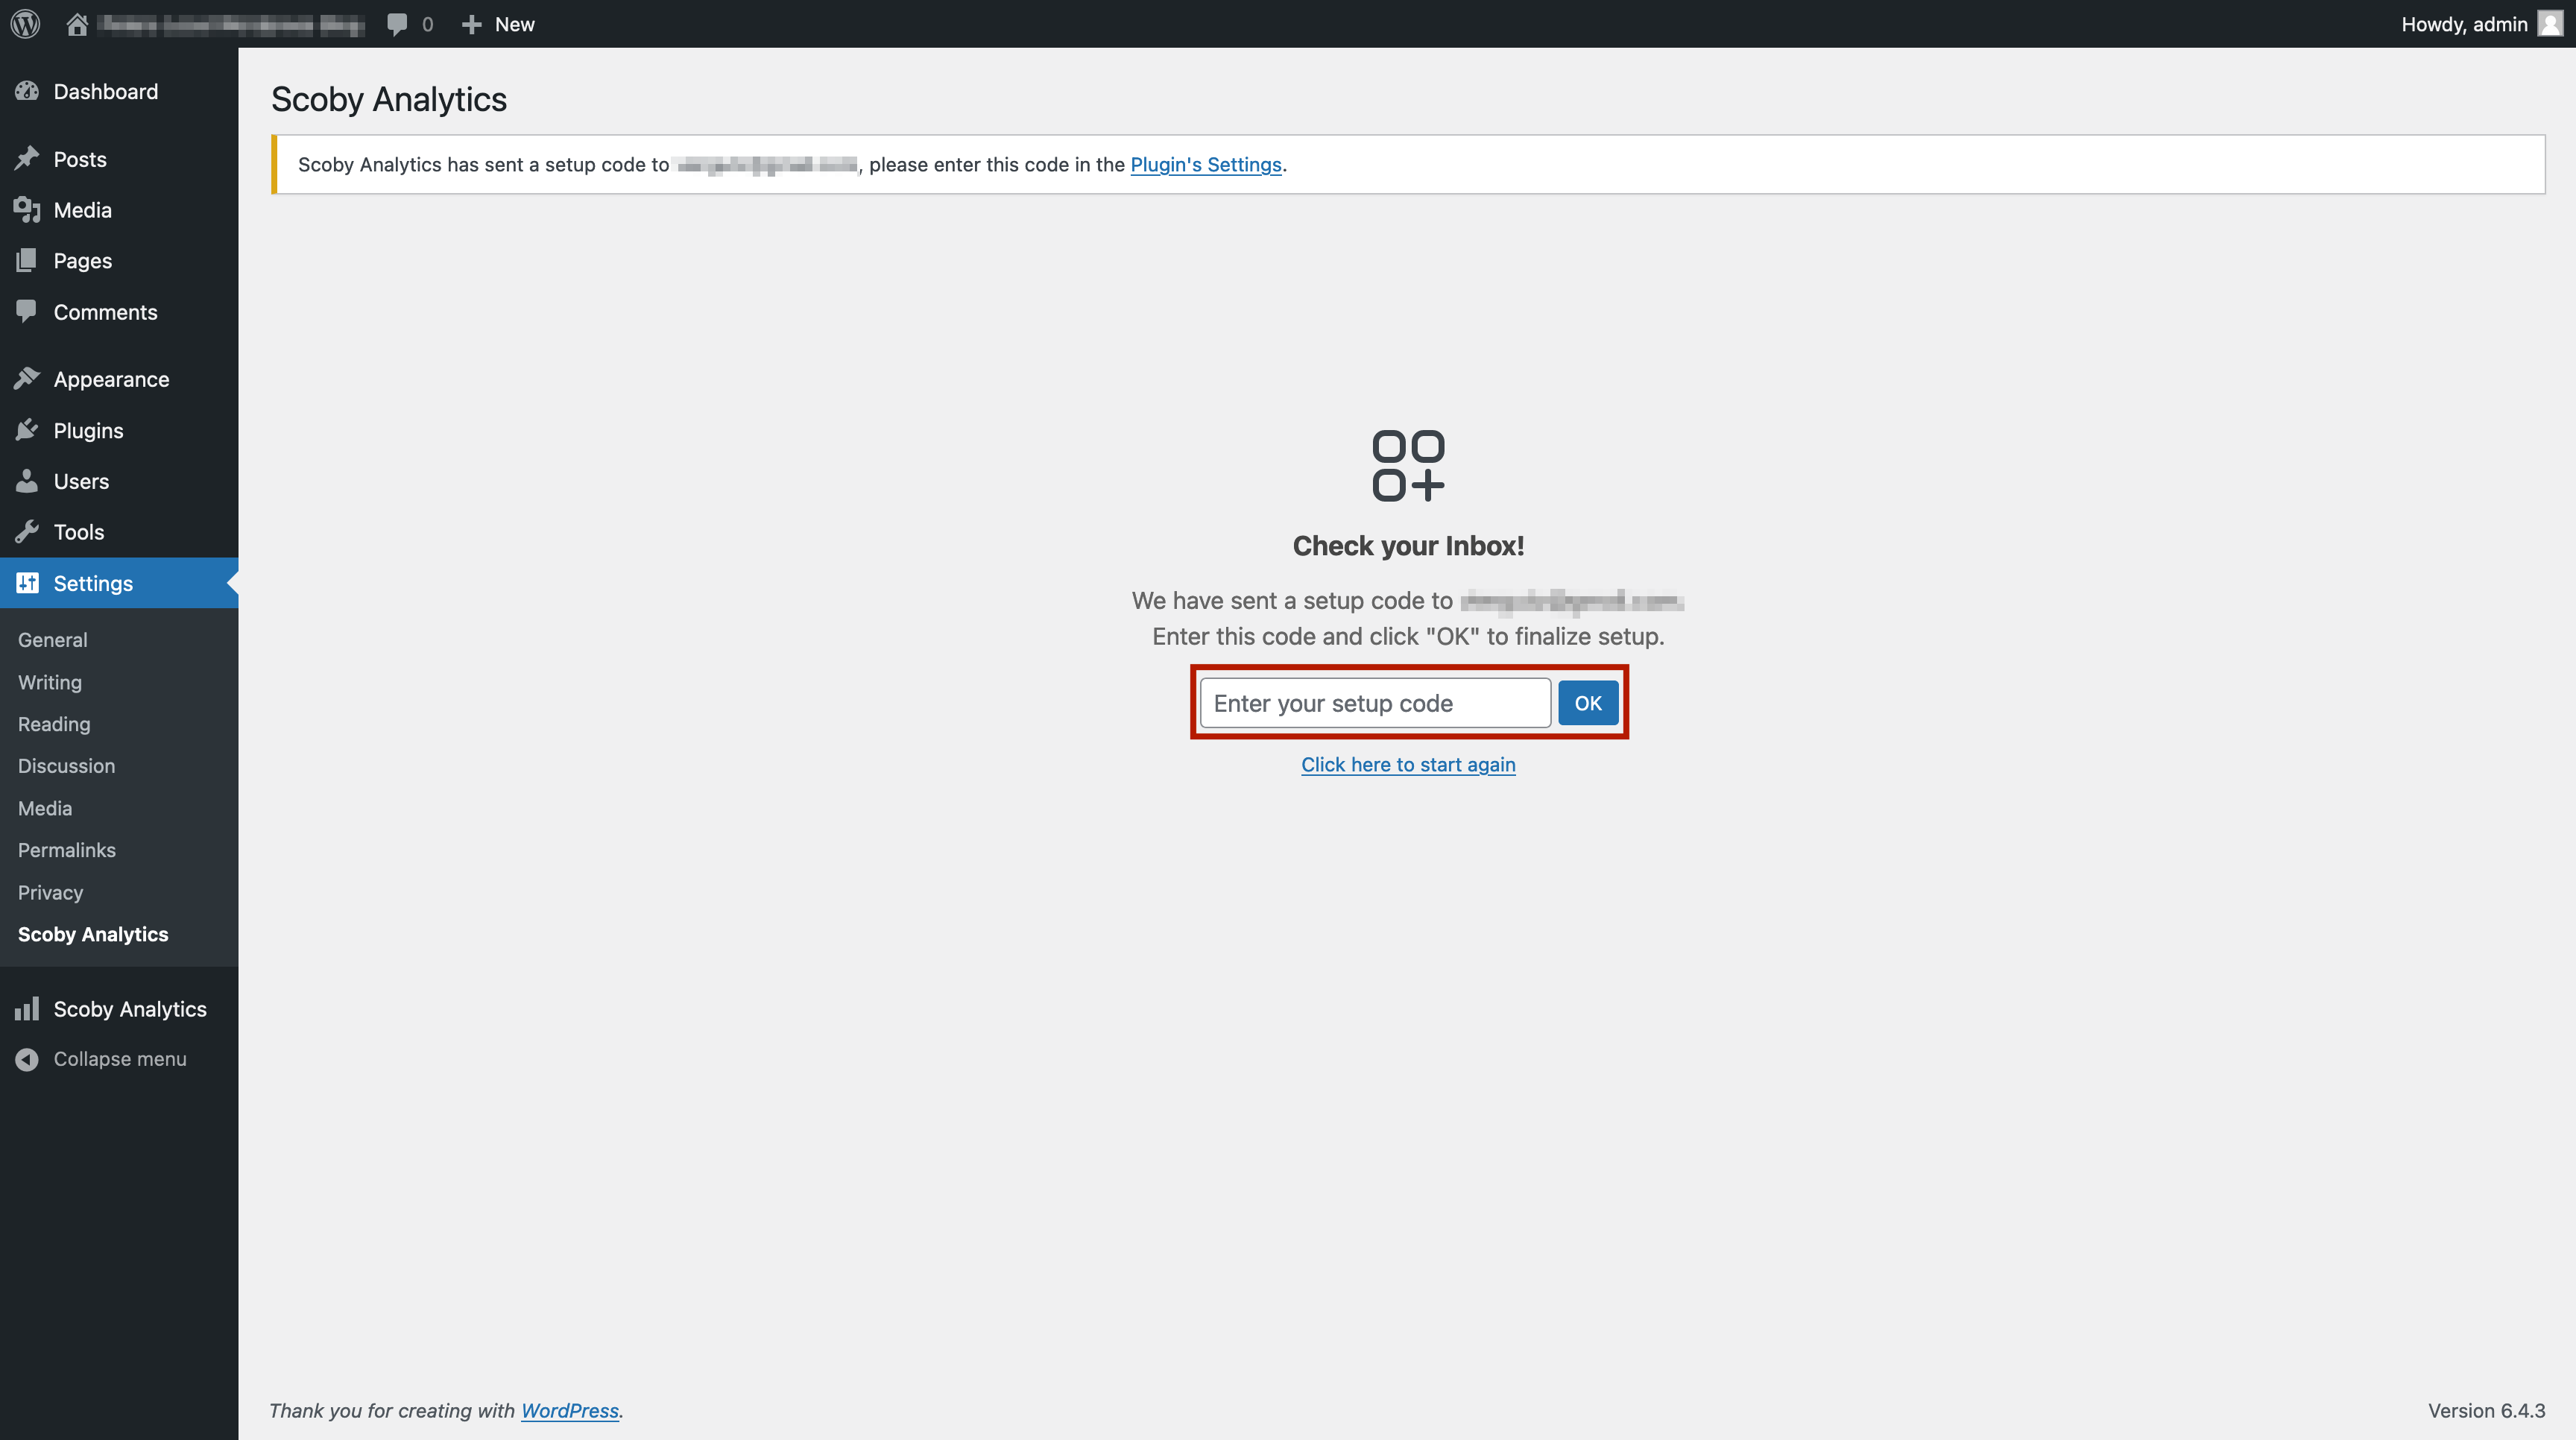
- You’ll receive a Setup Code by email (sent to the Admin address). Copy or note it down.
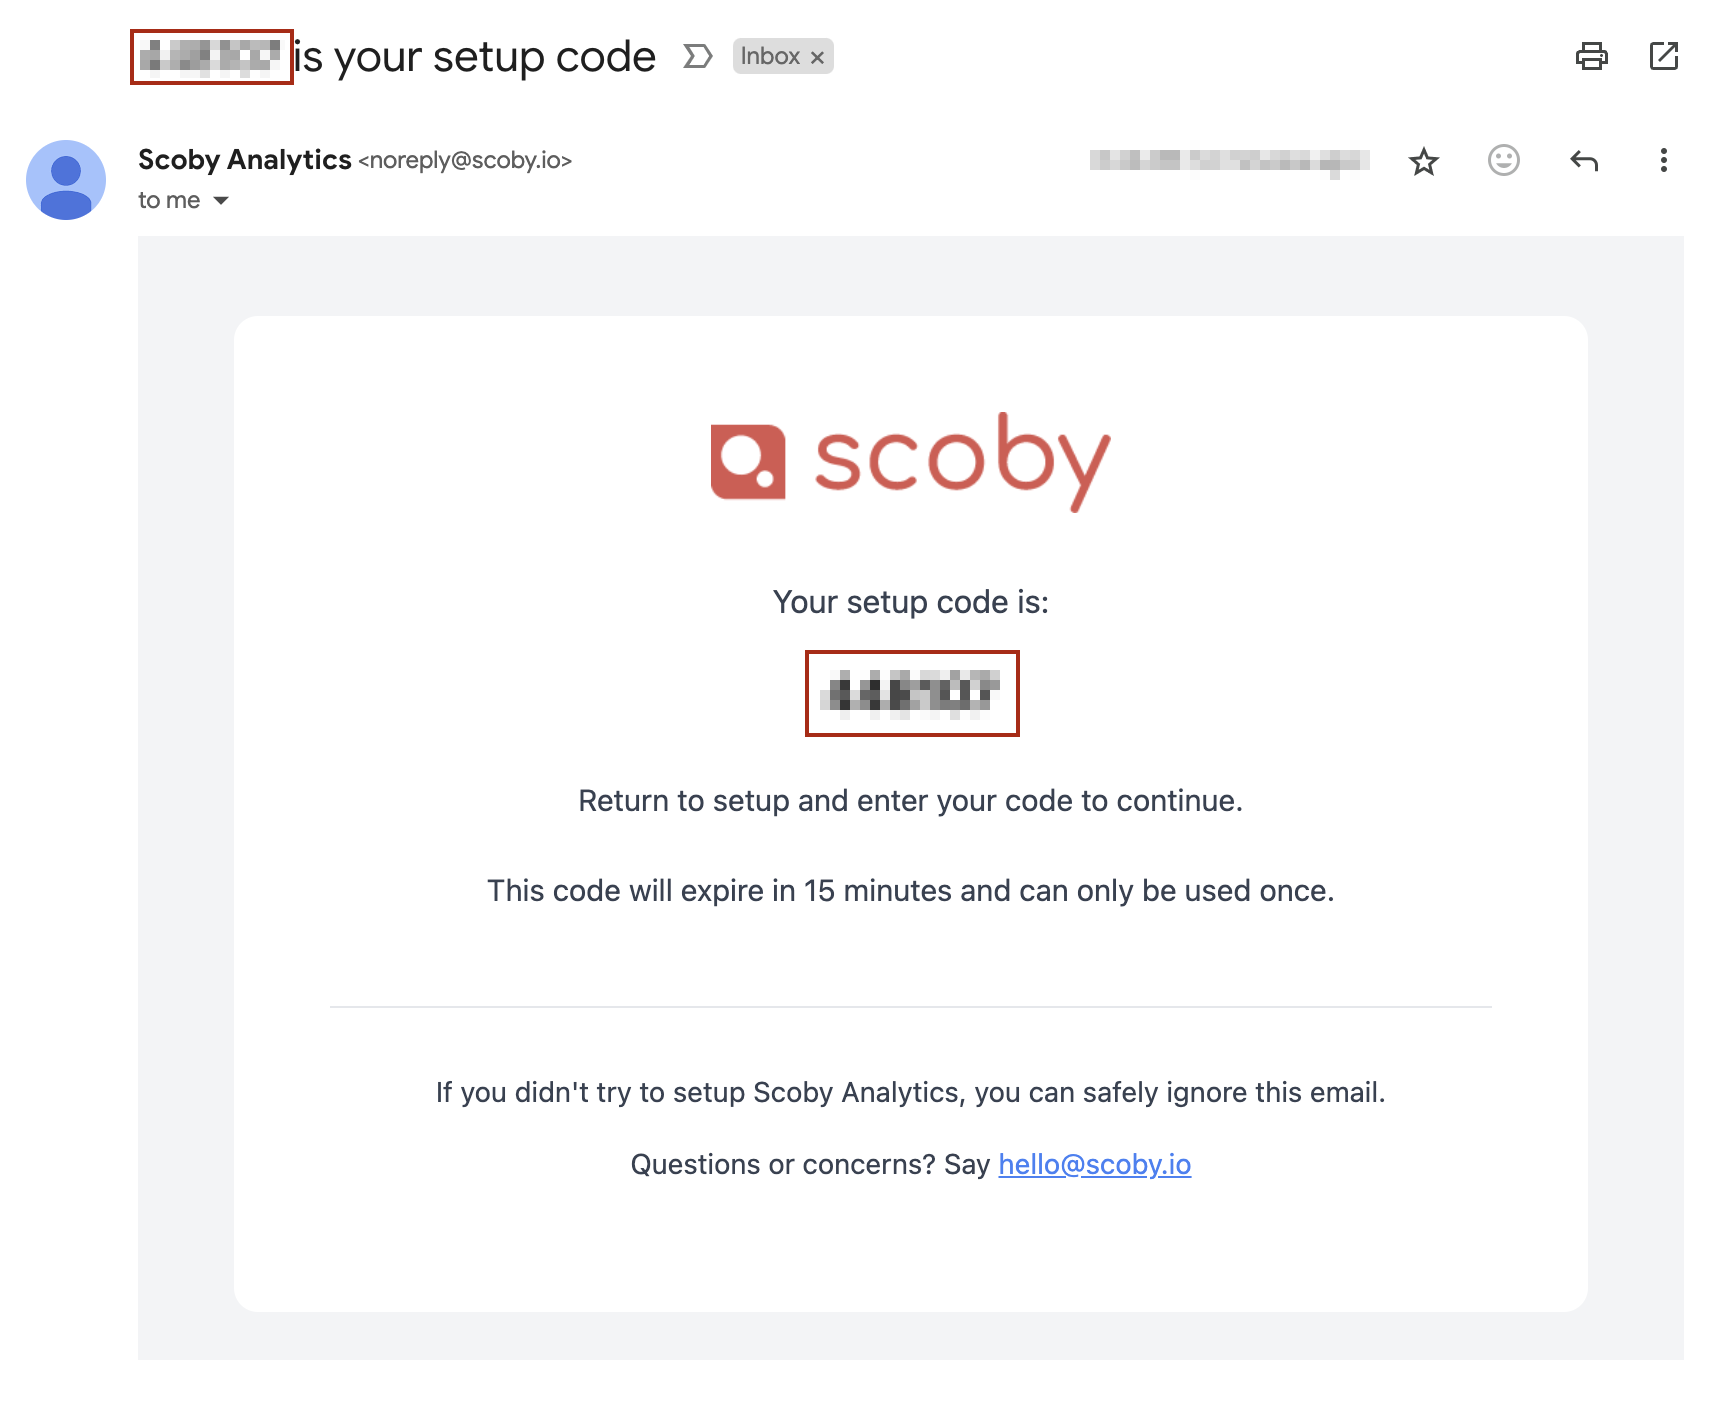
- Enter the Setup Code and click OK.
Finish Installation
That’s it 🎉
Scoby Analytics will now start collecting data. Your WordPress dashboard will soon display visitor statistics.
Optional: Cache Plugins
If Scoby detects a caching plugin (e.g., WP Rocket), it will configure automatically and prompt you to clear your cache.
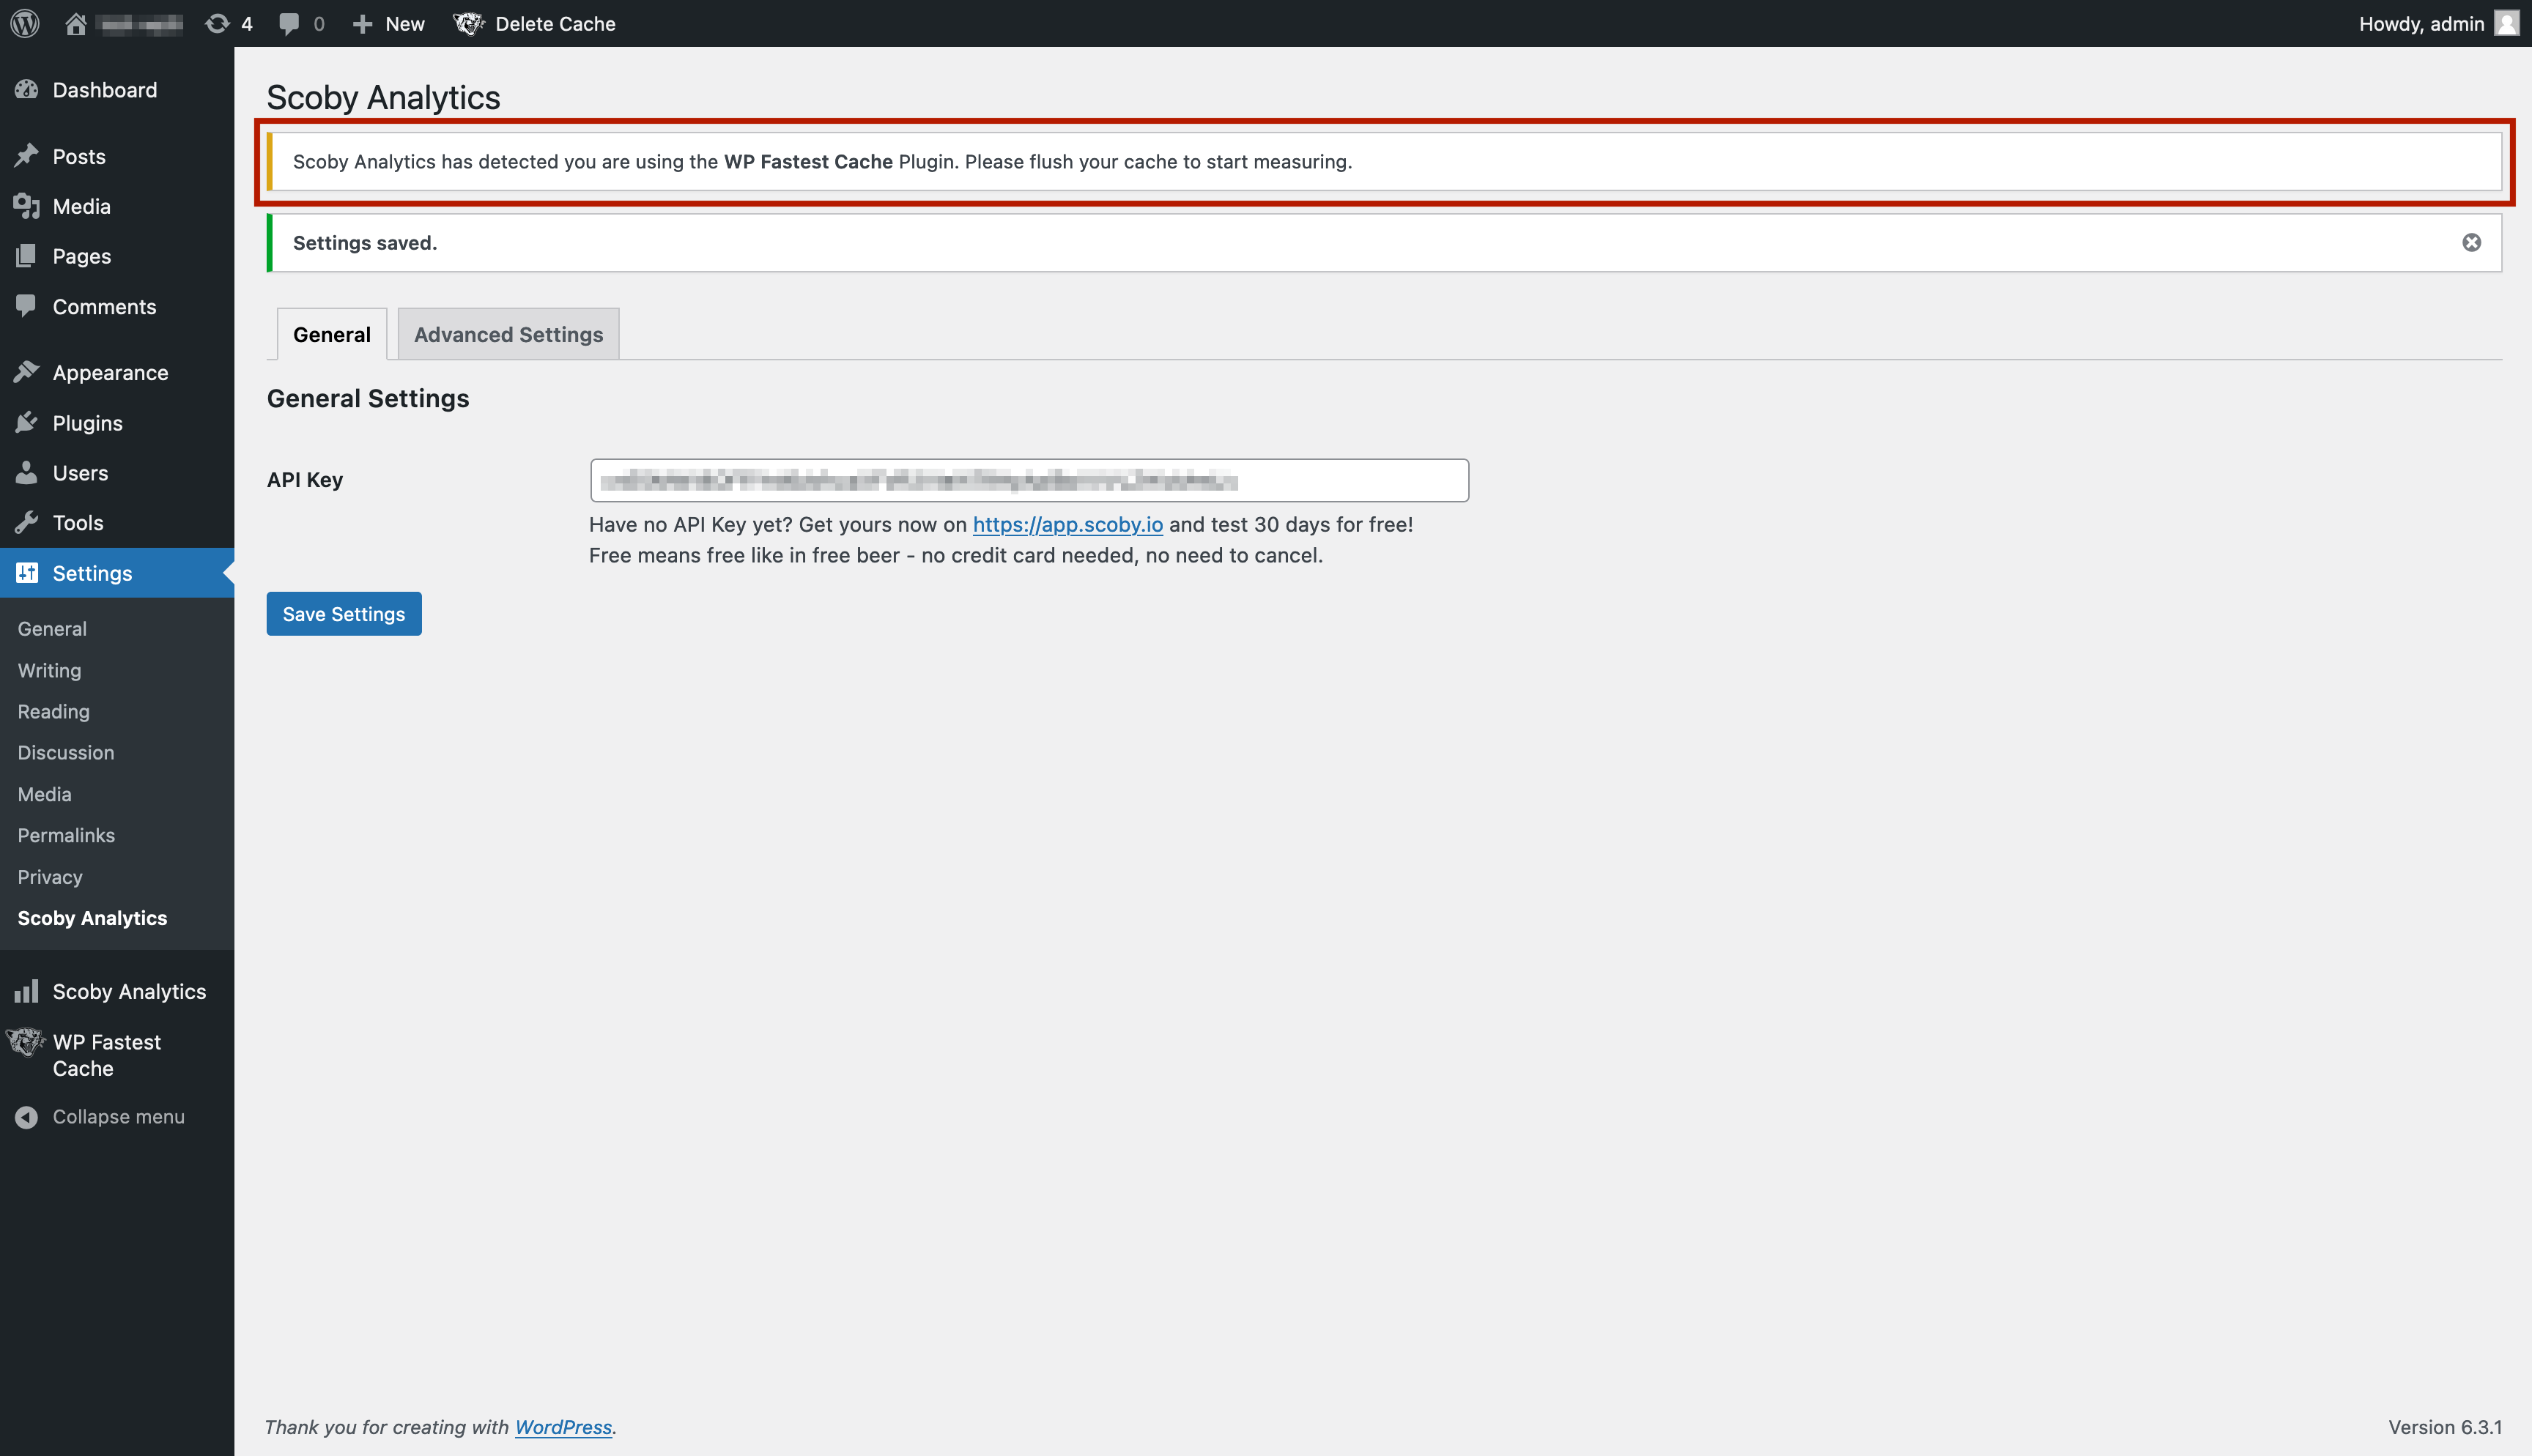
If you don’t see this message, you’re good to go.
Done! 🚀 Your WordPress site is now running on privacy-friendly analytics.